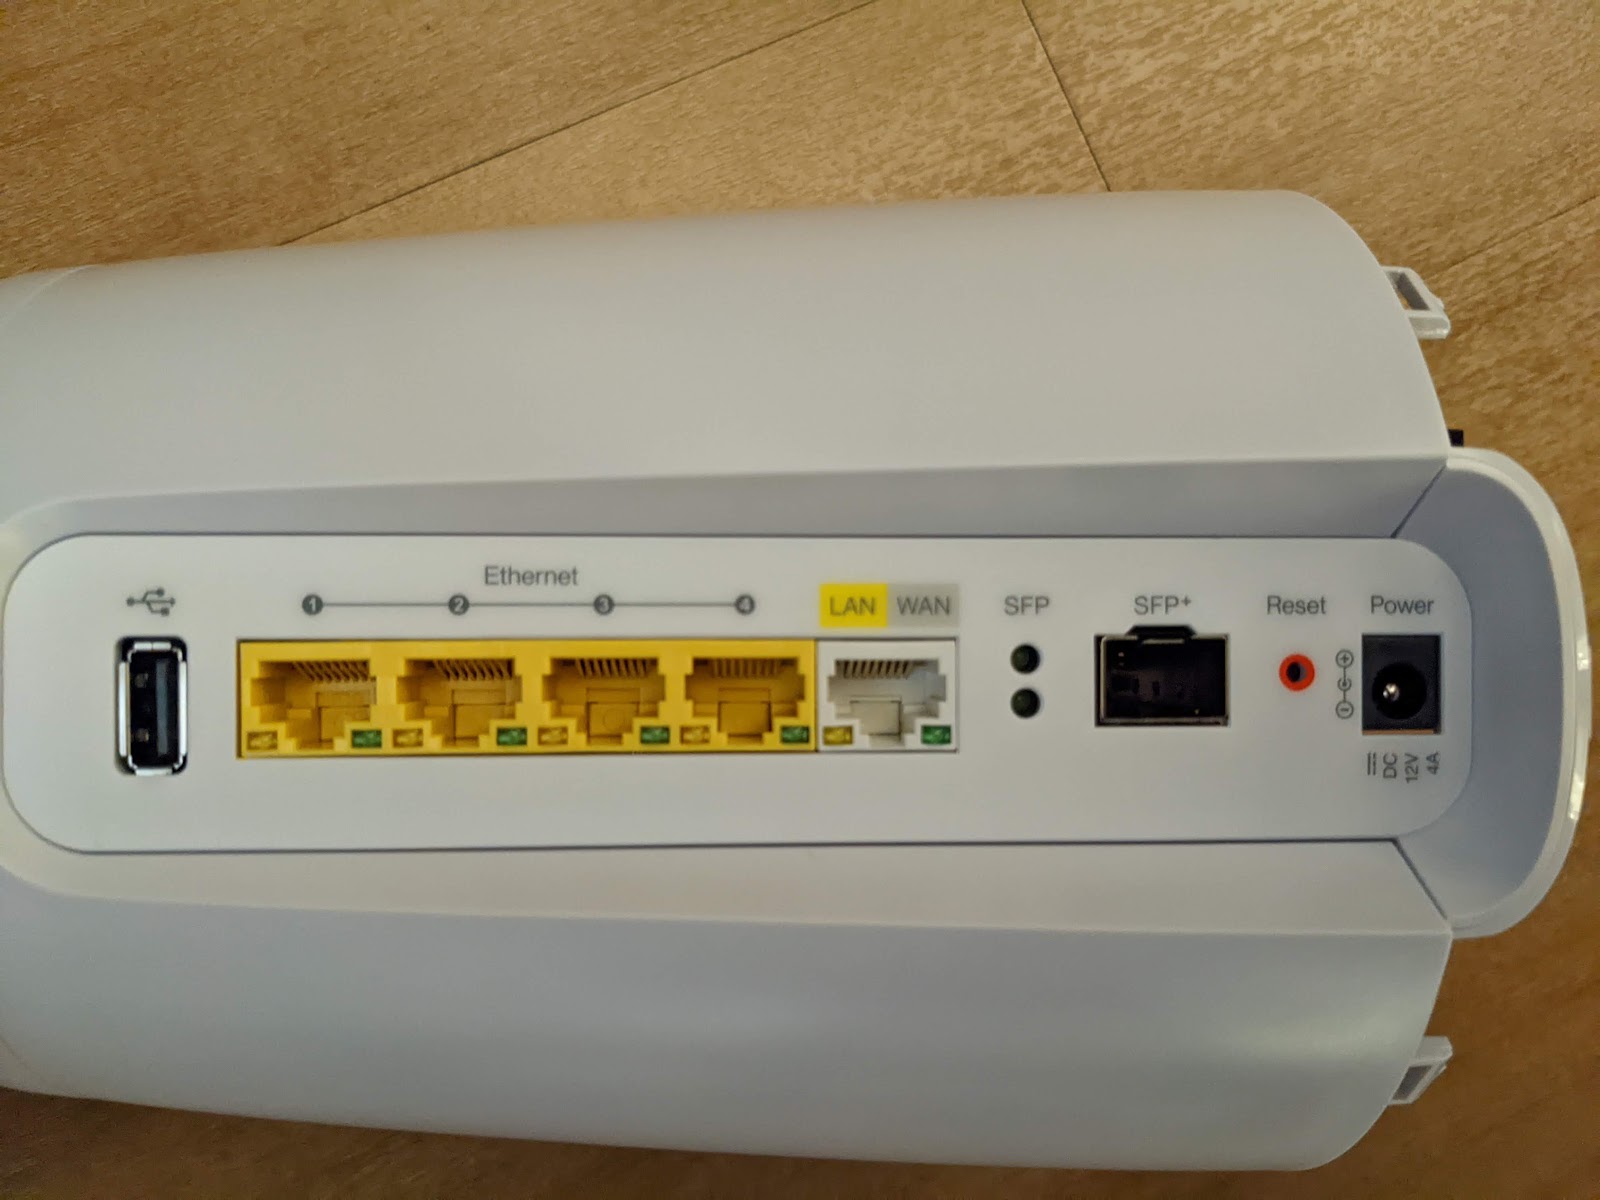
The C4000XG has been sold to CenturyLink customers as a "modem" for their fiber tier service.
WHY ARE THERE 84 REVIEWS?!?!
I don't know who would buy a used C4000XG because while it works for some people (probably people who never touch it after the install tech leaves), it is full of software bugs. What kind of bugs you might ask? Well to start, it has a nasty habit of factory resetting itself once a month, though surprisingly the customer PPPoE credentials get preserved. Want to disable the router and use it as a plain old Wireless Access Point? Don't reboot it because DHCP gets re-enabled on every boot. Also there is a strange issue where some devices can't complete their DHCP handshake with the real router...
Ya ok... well if it so bad, why write this blog? Because the AX (WiFi-6) wireless radio is amazing. At least with a small number of devices, it seems to beat out a WiFi-5 Ubiquiti access point for cutting through the noise. I suspect due to the antenna layout. It also interestingly has an SFP+ port, possibly CenturyLink hoped to replace the ONT?
Cool, so just throw OpenWRT on it and... oh no. There is no OpenWRT image for this device. In fact, I haven't been able to Google any information about it's guts other than the FCC docs (fcc.gov).
So ladies and gentlemen, I present to you a sneak peek of the inside.
Revealing...
The cutout in the heatsink above the capacitor appears to be a serial connection with header pins labeled: TX, GND, VCC, RX
Annoyingly the back plate
Is also held in with 6 retention clips and hides 2 screws holding the circuit board in place. Three can be easily found under the heatsink on one side, but the other three... only one can be accessed.
The easiest way I found to remove the plate was to use my finger with my right hand to release the top clip and simultaneously use a spudger with a pointy tip with my left hand to release the opposing clip that can just barely be seen under the black plastic. Once that first pair of clips are released you can let go and then use the spudger to release the second clip on the right side. Then because the opposing clip is not accessible, twisting and futzing with the plate to make it come free on it's own. Finally, using a flat spudger to wedge in behind the plate on the outside, a second long pointy spudger can be used to "stab" behind the last clip on the right side and force it free. Then again futzing with the plate to free the opposing clip.
It took me probably 20 minutes to get it free, but I also didn't know the tricks above.
At this point I was done for the night, till next time when hopefully I have more information about what is inside...


